Big project. After contemplating it for several years, we finally found - or were given - the time to rehab our bathroom. It is a limited rehab in that we did not change out the floor tile and we kept the plumbing fixtures but we did change out all of the lighting, wallpaper, accessories and decor.
To say that things were rough to begin with is an understatement. The bathroom was a sort of mish mosh of thigns that had been added over the years. The over-sized and low-hanging light fixture, the big cabinet over the toilet, and the weird wallpaper choice all made the room a bit full and made me feel claustrophobic.
The layers of paint and chipping and delaminating plaster were particularly bad in this room and there was some bad cracking and mold on the ceiling that just couldn't be fixxed given the surface texture and years of poor upkeep.
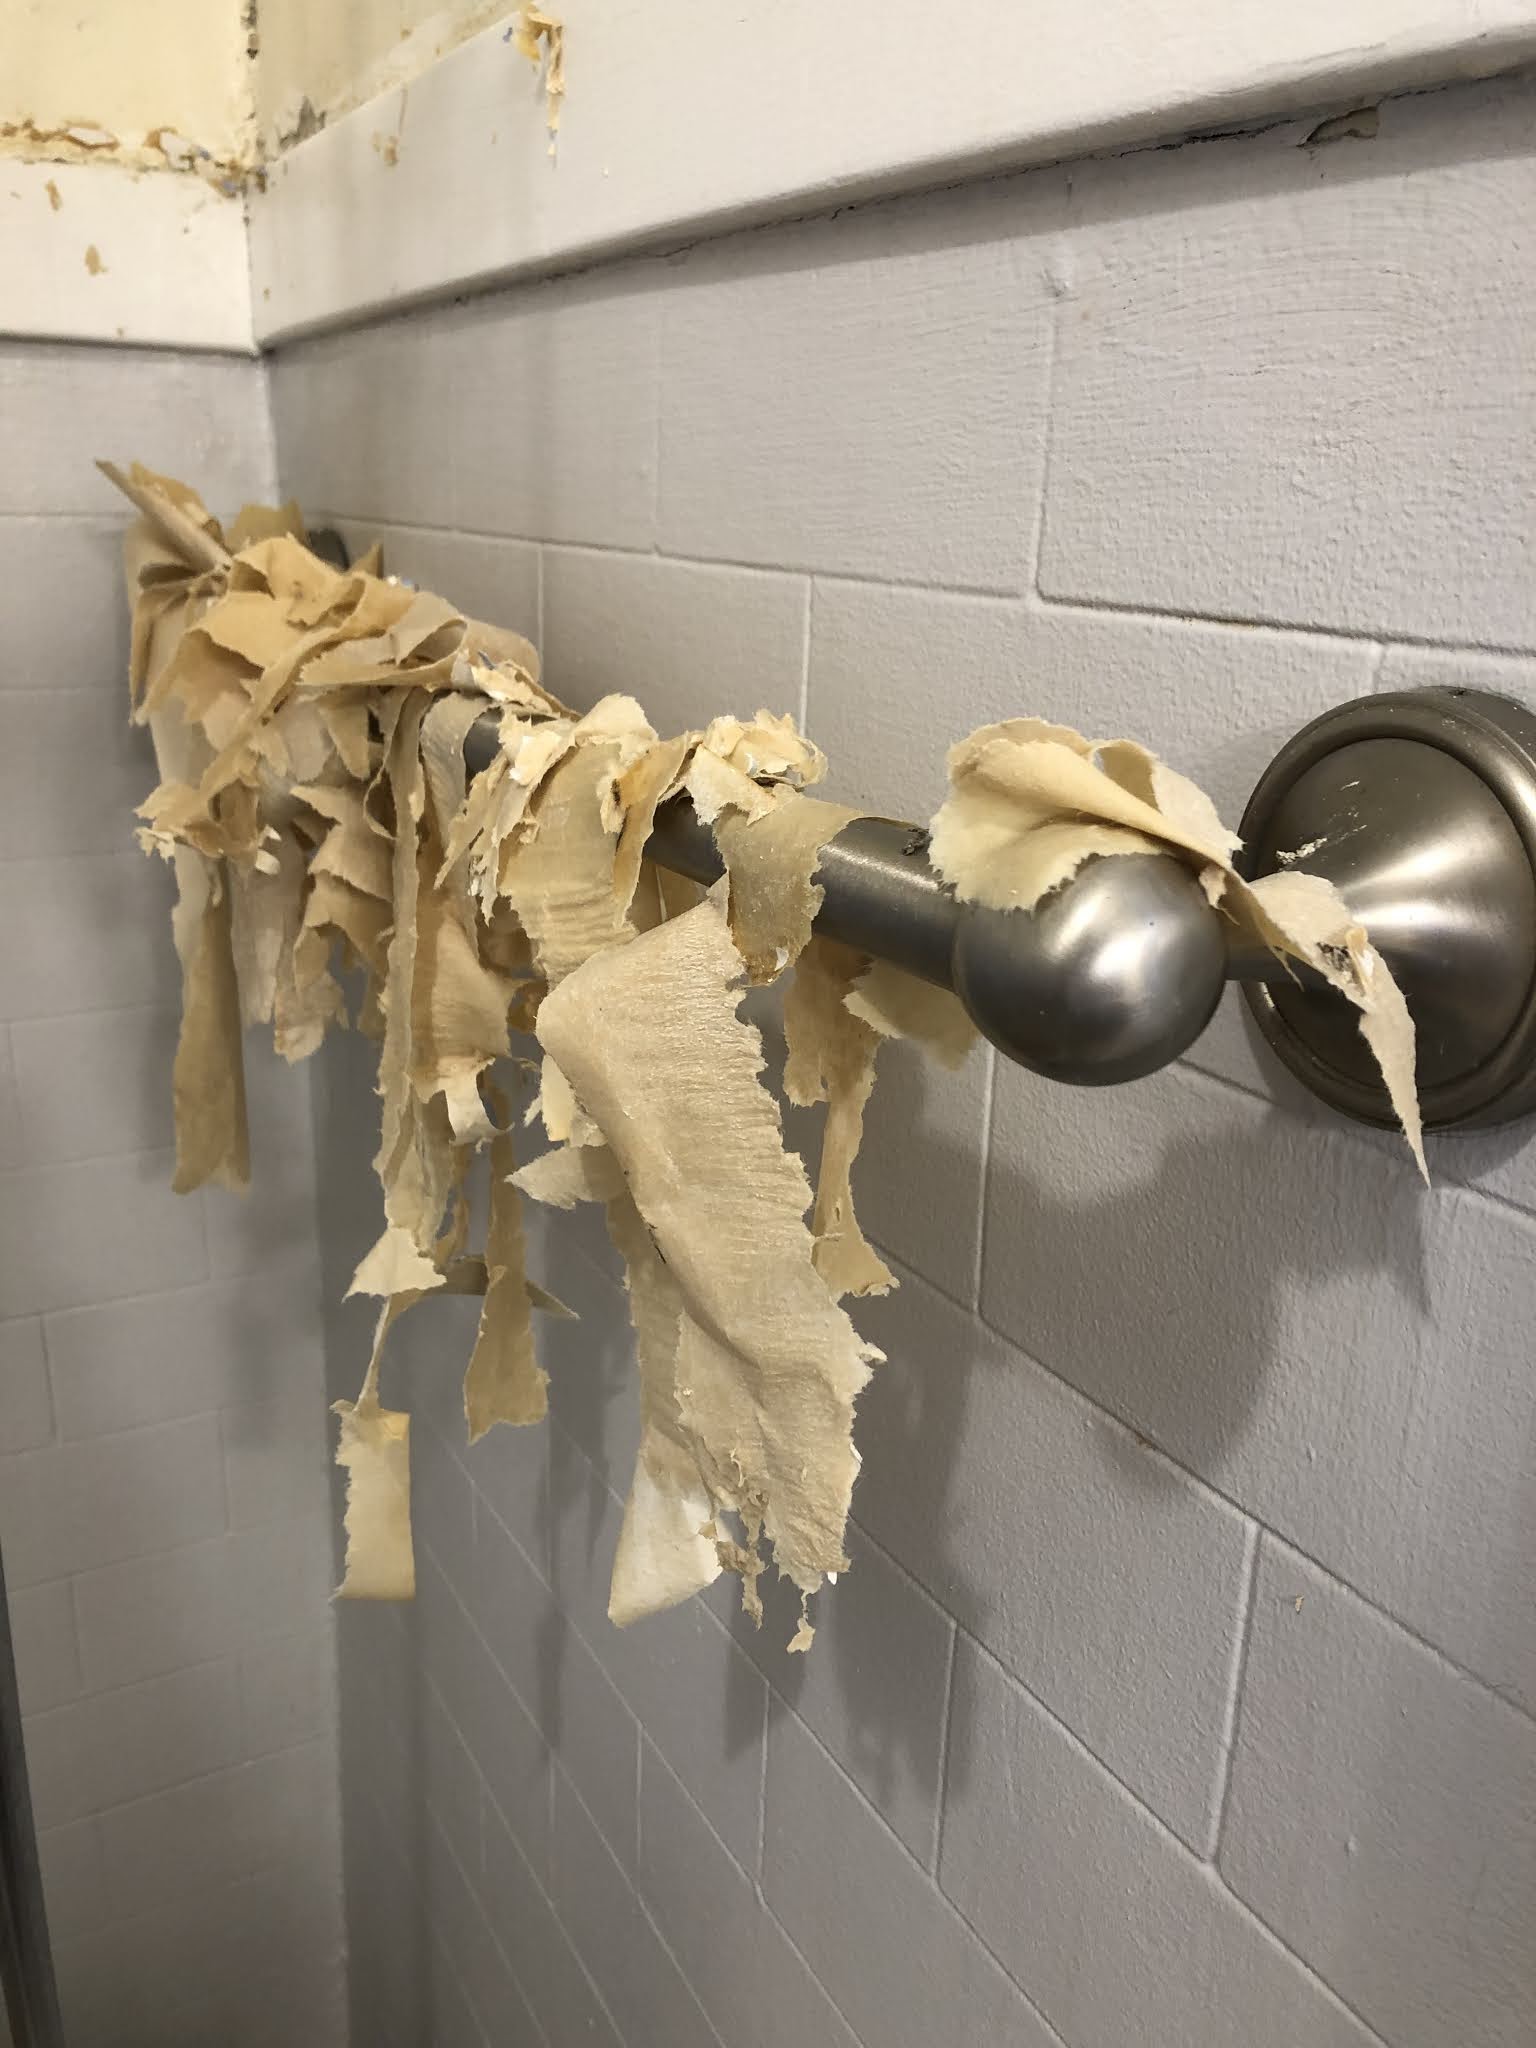
The fist big part of the project was to remove all of the wallpaper. We were very fortunate that this part was relatively easy. We perforated the surface and sprayed it with warm water and it pealed off without too much work. After getting the paper down, I washed down the walls several times to remove all of the glue.
There was a significant amount of patching to do in this room before we could paint. The main walls had odd score marks. It looked like the PO's contractor cut the wallpaper in place, scoring all of the original plaster. The lower part of the walls are all original faux tile - a plaster scored to look like tile.
Thee were some areas where the original finish of the faux tile was visible and it was an incredible finish - as fine as Venetian plaster. Unfrotunately it had been covered with several years of paint to the bestw e could do is to patch areas that had fallen off and then apply another layer of paint.
For the fixtures and accessories and all of the new hardware, we chose a polished nickel finish. This way all of the new stuff matches and it has a classic look. Nothing in the room was original so we figured we could take some liberties with this and get what we like. Unfortunately, with COVID happening, getting orders in has been a bit difficult but we have everything now except a couple towel bars.
The new ceiling fixture is nice and high but still has some character so the room feels much lighter and larger.
The colors that we chose for the room are much cooler than what we have around the rest of the house. My wife and daughter chose them all. We used all Sherwin Williams paints and the lower color and trim is "Greek Villa", the ceiling is "Crisp Blue" and the walls are "Debonair". I'd like to say that I miss the circus that was our previous decor but I don't. This is such a welcomed change.
We are particularly happy with our choice of fixtures over the refurbished medicine cabinet. It is the Davis Double sconce with the faceted turtle shade. It provides a good amount of light and is also very decorative - and doesn't hang down over the cabinet the way our old one did.
For being almost 100 years old, we are happy with our medicine cabinet. We had to change out the hardware though. A Home Depot white pull and plastic magnet latch just didn't do it justice. New polished nickel hinges and thumb latch fit the look of the historic bathroom and coordinate well with the rest of the room.
As we add more details, I'll update with another post but the bathroom is being used again and we are happy with how it came out.