


I am ultimately happy with the hook choice. Hopefully this will keep stray jackets off of the furniture as well!


 After a bit of deliberation, I have decided to tackle the front hall as the first project of the New Year. There was a close tie with the bedroom hall but since that hall has more doors and more woodwork, I figure it is better to “experiment” on the smaller hall. There is also a need in the house for a place to hang coats. This will be part of the hall renovation.
 The coat rack will be made of stained mahogany and will incorporate a mirror that was found in the basement of the home. We hope to have enough hooks on it so that our winter coats are all stored there.
 In addition to a built-in coat rack and mirror, we will also be changing out the lighting. It is funny. Most people that come into the house comment on this small mission style fixture in our hall and usually ask if it is original. No, it is not original and though it isn’t so bad, it really is not in keeping with the rest of the style of the house. We will be putting in a simple brass pendant fixture at the ceiling with a globe that was salvaged from my friend Will’s house.
  Changing the light will accomplish two things. First, we will have a fixture that would be more typical to the transitional arts & crafts style that our home has. Second, it will put the fixture out of the way, giving the room the sense of having more space. In a home like ours, every inch counts. Perhaps we will find a use for the old fixture on the back of the house.
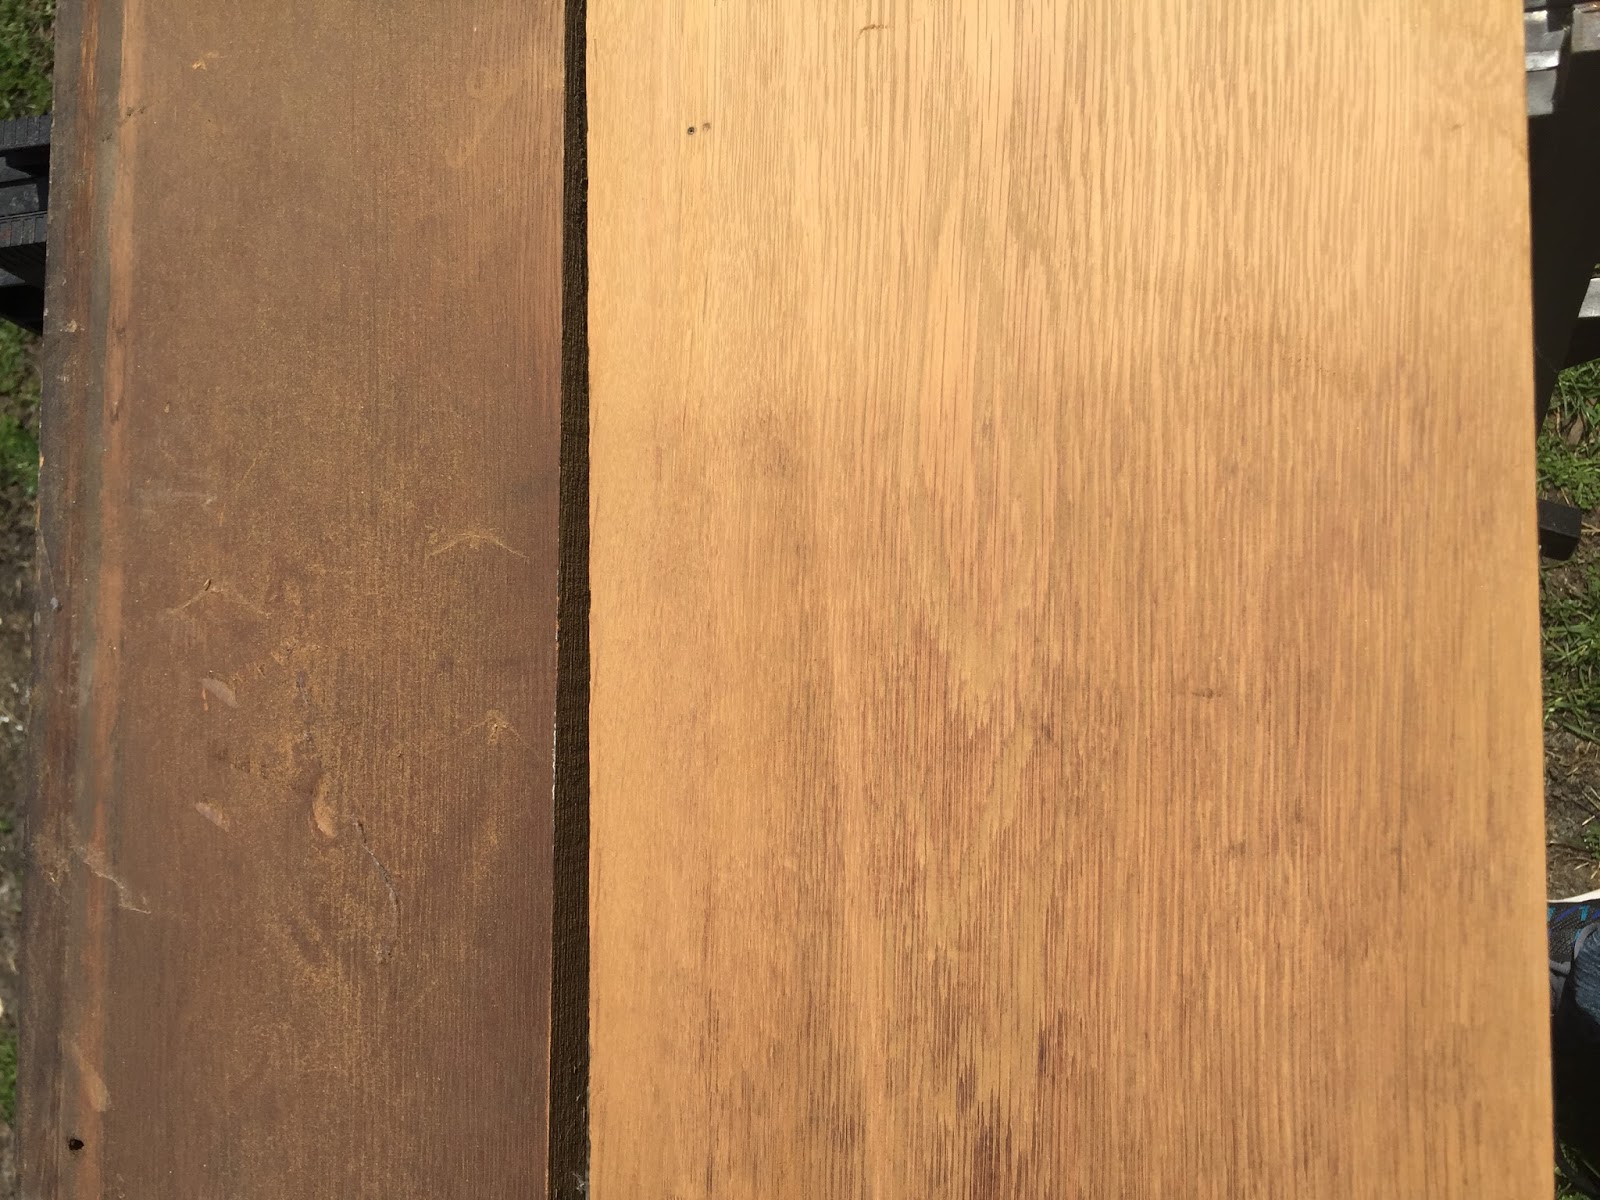
 A major part of this project will be experimenting with the wood finish. The home’s original wood finish has been stripped. From the evidence that I have found (back of attic door and fragments on our base molding), it appears that the woodwork originally had a darker appearance and was varnished. I imagine that subsequent owners wanted the room to look more “natural”. All of the wood in the house seems to be birch. I have seen other bungalows in the area with similar woodwork, stained dark and varnished, and it looks great. This will be what I will try to achieve. For the colors in the hall, we will be using some of the golds that will also be painted in the living and dining room. This is not final though.
