It’s been cold here – very cold. Contrary to what you might think, Chicago has relatively wimpy winters. This year has been the exception. The nice part about all the bad weather is that I can keep working on the bedroom.
My plate is pretty full and I have several projects going on. After a short argument with my wife, I gave in and did not run out to Toms Price and buy a new
Stickley night stand for the bedroom. Inspired by some of the woodworking I’
ve seen on the
houseblogs, I decided to build one instead.

I came up with a design (actually, I came up with several) that had a mission style appearance and would fit nicely next to the bed. I simplified it, simplified it some more, fretted for hours about how I would put it together and I finally have something to show. I’
ve cut all the pieces except the top. I am particularly proud of the tapered legs. I am not a woodworker and I actually made a jig to cut them all the same. I am sure that you woodworkers out there are not impressed but when you spend more time making a jig then you do the actual product, I consider it a big deal.


I won’t be using any fancy joinery on this one - baby steps. Instead I got some ball-head screws to hold most of the pieces together. I will blog more on my furniture-making exploits once I get some sanding done and start assembly. Who knows, a trip to Toms Price may still be in order.


We also made a decision on the border in the bedroom and it arrived yesterday. It is from
Trimbelle River and is a forget-me-not pattern. Now we just need to experiment with some colors and paint the border. This scares me more than the furniture project.

Finally, I got my photo of Mt.
Lushan enlarged and will be making a frame for it out of some mahogany I bought (by the way, that's my leg-tapering jig sitting next to the pile of mahogany in the basement). The colors in the photo were my inspiration for those on the walls and the Asian view fits the style of the room pretty well. I can’t wait to start that project – probably by April.

Seriously though, I am starting to see the light at the end of the tunnel on the bedroom. I picked up all of the toe molding and then all I have left is to strip and re-finish the closet door and I am done.


 I just hope that the weather continues to stay this awesome so that we can enjoy the chairs outdoors for a few more weeks... ...at least.

 The chairs came out o.k. I give my craftsmanship about a C. One leg is a little off on one of the chairs and the spacing of the pickets is not quite even and I didn't line up all the screws either. The connections of the arms to the back rest is a little strange too. I'd give the overall project a B. The chairs are sturdy and they are comfortable and you don't even notice the crooked leg when they are sitting on the lawn. We'll see how they hold up.
 I think the folks at Rockler can take a little fault for my "C" though. I always thought of myself more as a C+/B- when it came to carpentry. I really think the templates could be better and aligned to different sizes of wood. The fact that there is not a lot of tolerance for errors would be nice if it were noted as well. I also wouldn't recommend taking this on with a hand-held jig saw. Though it can be done, a band saw would probably be more accurate. Needless to cay, this C+/B- carpenter doesn't have one of those.
 The overall project was pretty uneventful but I accomplished the task and was cleaned up after only a couple of hours. I didn't think this was too bad. Now I just need to block out a day to assemble.
 This morning, my daughter was in a creative mood so we decided to build a Chinese Crane and nest in the front yard to celebrate the Beijing Olympics. We used left-over cedar from the Adirondack chairs. This otherwise would have become kindling so I think it is a good use.


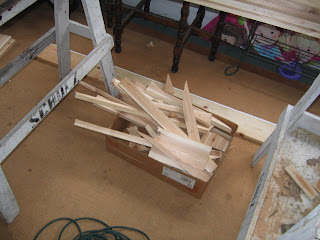


 Overall, there is a little more waste than I would have wanted. I guess for 12 good-sized pieces of wood, a small box of kindling isn't so bad though. I will likely have to wait another weekend before I can get to the next part of the work. Boy, I hope I can finish these before mid-August.

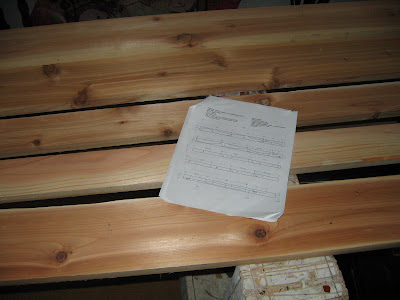 The directions are pretty self-explanatory. You lay out a series of templates on the wood and then cut everything out with a jig saw. So far, so good. It only took about an hour of work to do the cutting for one chair. I'll pick up the project again tomorrow morning and see if I can get something accomplished before the end of the weekend.


