
As a small diversion from my ongoing mural project, I've always wanted to fix something in the house that I've never been completely happy with. When I first hung all of our artwork on the picture rails, I used the simplest way, a single cord and single hook for each. I always new I wanted to update this with a two cord system but never got around to it until now.

The reason I wanted to use a two-cord system is twofold. First, I've never been happy with the aesthetics of the simpler system. Second, the simpler system leaves the artwork failry loose and uneven on the wall so pictures are not exactly even and some even move when the forced-air heating or air-conditioning is on.
Setting up the two-cord system is pretty simple: you run a single cord (in my case, since I am re-using old cord, I am running two cords, tied together, through eyelets in the back of the frame and then at each ends of the cord, you form a loop ad insert a hook. Keeping the cord loose in the eyelets allows you to easily level the pictures on the wall.

Forming the loops is probably the most work-intensive part of the project. For mine, I created a loop in the cord.

I then wrapped the loop shut tight with some brass wire.

I crimped the brass wire tight against the cord to insure it wouldn't fall off.

Then I repeated this step on the other end of the cord.

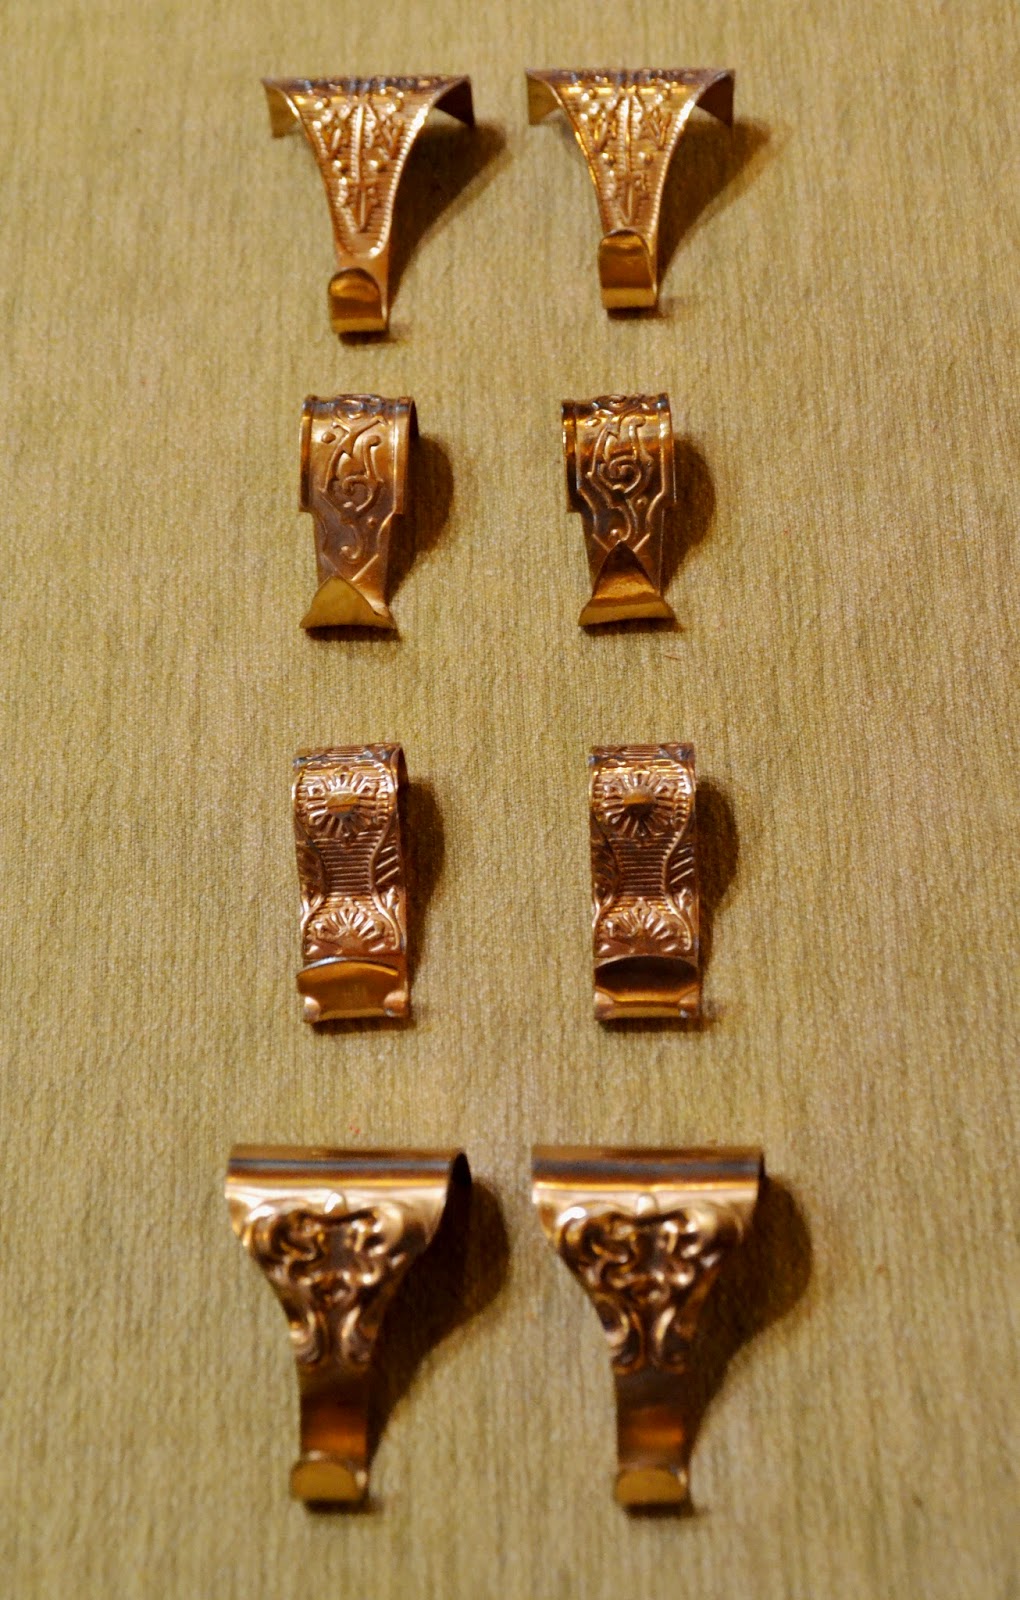
I use decorative hooks that I purchased online from House of Antique Hardware. They aren't specifically Arts & Crafts style but that seems fine with me since the house has enough elements that aren't specifically that style anyway. I also wanted something with a bit of interest.
The wire and loop system creates a neat attachment at the rail.

I am happy with the final look because it maintains a rectilinear form on the wall and holds all of the artwork in a stead position.

This process has allowed me to take an inventory of what we have hanging at the Tiny Bungalow and I am going to hang a few new pieces as well. I'll follow up with a bit about some of the art that we have hanging at the house and where it came from.


 I guess I sort of understand folks that have drywall and no picture rail. These are mostly non-historic homes and drywall seems somewhat of an irreverent material anyway. Is there a real reason to protect it? I am also sure that folks with drywall would prefer to get excited by products like the


 Hopefully the brass screws begin to patina soon - I may need to do something to accelerate the process. I like the rhythm of the exposed fasteners but they are just a little too "bright" at the moment. I also may get a bit more anal about their position - it would be nice to have the cross mark of the Phillips-heads to be all orthogonal to the rail itself. Frankly, I don't have the patience for this right now.
 I am excited to get to the painting part but since I've come this far, I am going to take a little more time with the plaster to get it looking better before we paint. We have decided on the room colors too:
 The Prairie Green (how appropriate, right?) will go on the main walls below the picture rail, and the Silver Wing will go on the ceiling and above the picture rail. There is still a chance I might do Touch of Gray on the ceiling as another accent but I am not sure. There was also some talk of stenciling the dado a while back but I'm not so sure of that either. The real bonus to choosing the paint colors is that I can now take down the 100 or so odd paint swatches that are hanging around the room.
  An odd thing about the line of the old picture rail is that it was located at an odd height. Where the picture rail in all of the other rooms aligns with the door or window head molding, this picture rail is above the door molding and then ‘crashes” at an odd place against the crown above the head.
 Being the architectural genius that I am, I figured that I would “correct” this by shifting it down. This would make the picture rail align with the head and molding just like all the other rooms. WRONG MOVE! After spending several hours attaching the picture rail, I realized that it looks stupid at that height and would probably (I don’t know exactly how to explain it) look better at the higher height. I guess they knew what they were doing back when they built this place.
 I also screwed (pun intended) myself by installing the picture rail with a “cool” detail that I’ve seen on other older homes. I used exposed screws and washers drilled directly into the studs. This not only made it more difficult to hang but also to take down and re-hang because it looked like crap the first time. In case it becomes important in the future, my studs are located at alternating intervals of 16”, 18”, and 24”. I think I may have to take back the thought that the guys that built this place knew what they were doing.


