Showing posts with label woodworking. Show all posts

Tuesday, April 25, 2017

The Hall Part 3 - Building the mirror and coat rack

When we first moved into the house, we found a dismantled dining room table in the attic. It was made of veneered wood but the wood under the veneer looked pretty nice. I am not sure but it might even be oak. I saved not only because I save everything but because I knew I wanted to use it in a project some day. Another thing that the house came with was an assortment of mirrors.
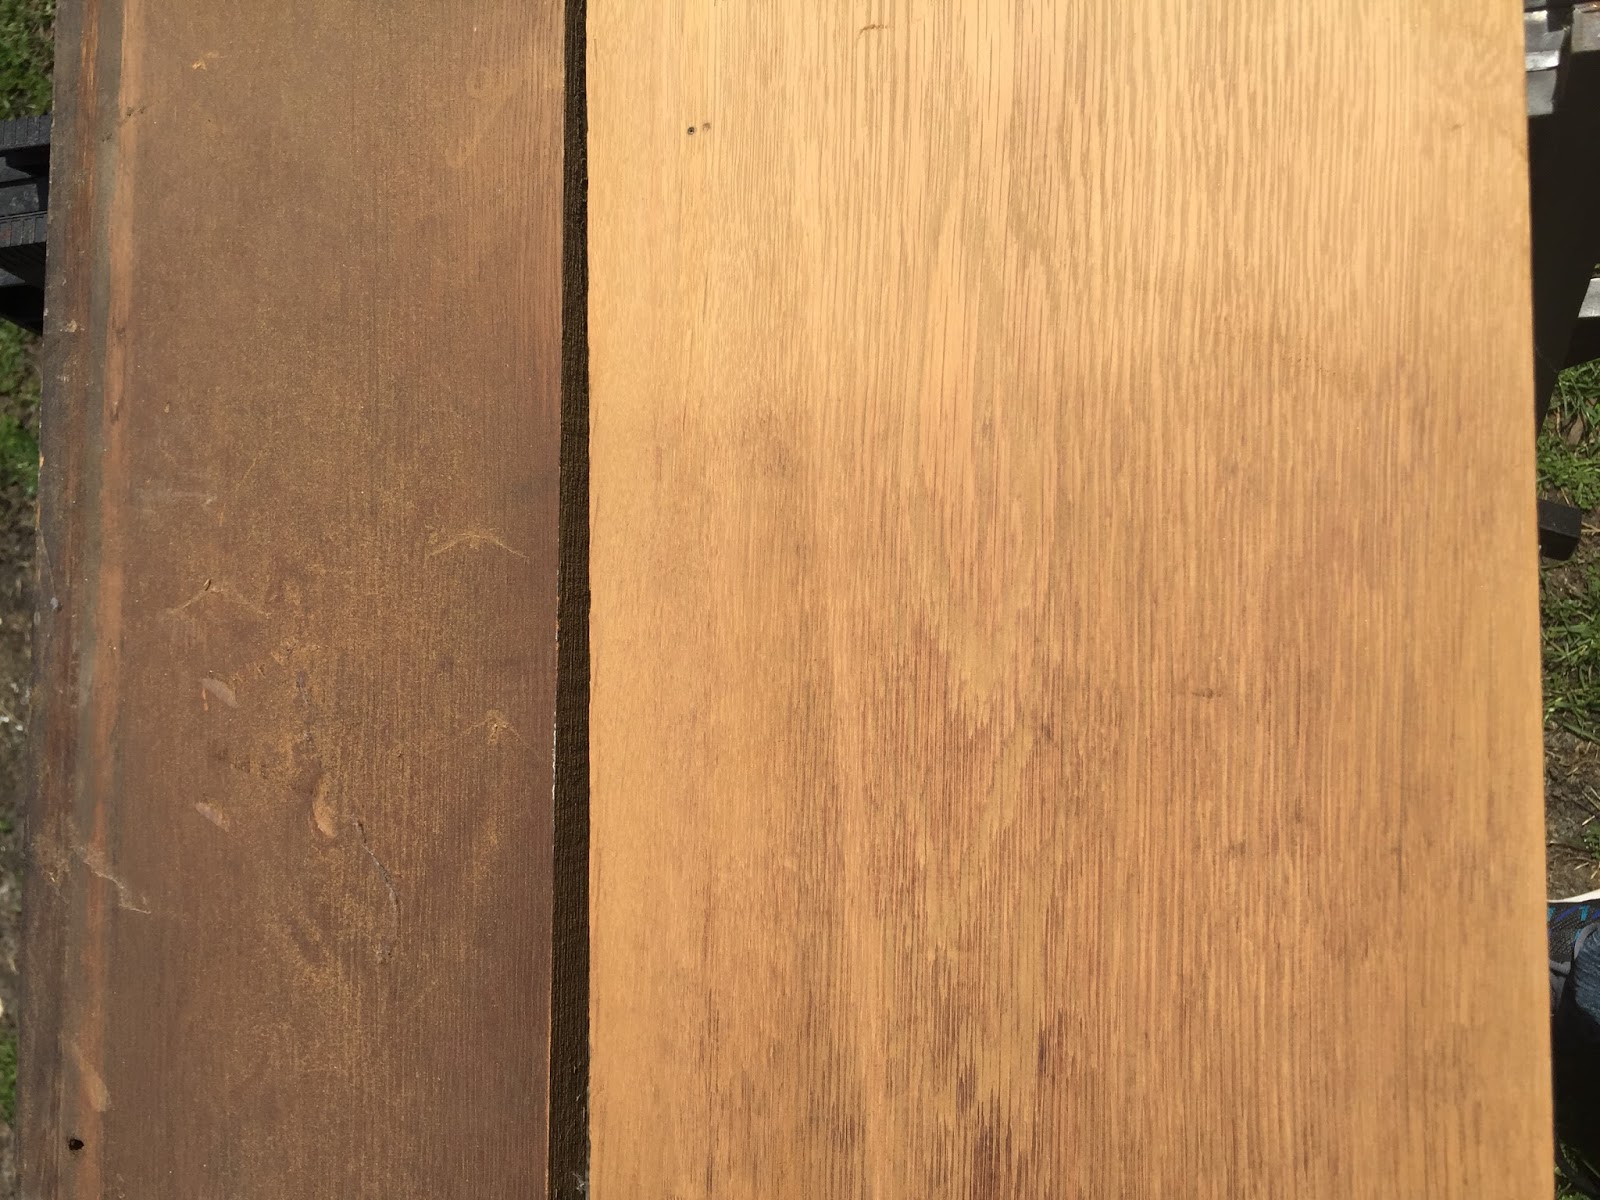
I thought that this was the perfect project: to build a sort of built-in mirror / hall tree for the front hall. I began by sanding down the wood, removing most of the rough spots and all of the finish.
I made a very simple frame and then stained and finished it in much the same way that I finished the rest of the wood in the house. For the mirror frame finish, I used tung oil instead of the typical varnish though.

What is nice is that the finish allows the character of the wood to come through but there is also quite a bit of distress visible from its former use as a table top.

I mounted the mirror in the frame and then mounted it to the wall with butterfly anchors. Two screws are also installed, top and bottom, through a stud in the middle of the wall. It is very sturdy and isn't going anywhere.
I used brash washers and screws for mounting so it has a simple yet classic detail.
I was originally fretting over getting expensive fancy hooks from one of the restoration companies but couldn't choose so I ended up at Home Depot and bought something inexpensive instead. I installed two hooks on either side of the mirror for coats and two double-hooks at the bottom for keys and umbrellas.


I am ultimately happy with the hook choice. Hopefully this will keep stray jackets off of the furniture as well!
I finished out the room by hanging one of the prints that I made last summer. It is great to have this room finished!

Sunday, April 23, 2017

The Hall Part 1- You would think such a small room wouldn't be such a big project

I don't know why I waited so long to start this project. It is a small room and should be pretty quick, right? The problem is: when I did the wood cleaning and refinishing throughout the rest of the house, I quickly learned how difficult it was to strip doorways. Though this is a small room, it has two doorways. I also knew that I wanted to create a built-in mirror/coat rack in this room so it would take a bit more time. 
 After we moved in, we bought a wardrobe and placed it in the front hall to store coats. Before moving it in, I had taped an outline of where I wanted a future mirror to be. Of course, when I pulled out the wardrobe, the tape, from ten years ago, was still there.
The room had other issues too. There was pealing canvassed walls and cracking plaster that needed repair. I decided not to fuss with these elements all that much and just did a plaster patch and repaint over the papered and plastered areas.

The wood in this room was much like the rest of the wood ocne was in the house: splattered with paint, poorly stripped, dirty and all around crappy-looking. I spent quite a bit of time with the denatured alcohol and steel wool cleaning it all up.


The door was a particular challenge because it has quite a bit of detail. I cleaned out the lambs tongue molding and made some minor repairs to the door. 

I then stained all of the wood and this room in much the same way that I stained the wood throughout the rest of the house. I followed up with a varnish over everything.


Monday, November 07, 2016

Rounding the Corner on Beadboard Work

It was a big week in Chicago this week. The Cubs won the World Series, deyed the river blue, and had a big parade. I work on Michigan so it made for a fun work day. 


I also felt that it was a good week for work on the house. The weather was great, I got the garage cleaned up and it can now be used for parking cars instead of staining wood, and I did a lot of work on the beadboard. 


I was able to finish all but two small sections of beadboard this week. It looks great and will be nice to finally get to the scraping and painting. I don't hold out a ton of hope that I will get much done before it is too cold but I am crossing my fingers.  


The trim for where the beadboard meets the friexeboard also arrived this week. I started priming that and will paint it this week so it can go up soon as well.


Monday, October 31, 2016

Work on the lower beadboard

The better part of this past weekend was spent working on the beadboard. I started the lower level and tackled detailing the corners, mimicking the way that it was originally detailed. The beadboard was set in an alternating offset pattern where each beadboard end was notched to tie into the perpendicular run of board. 


This was a little painstaking and somewhat beyond what I might typically take on. Once I got the hang of it though, things moved along pretty quickly. Unfortunately I don't have scaffolding so there were many trips up and down the ladder that slowed things down. 


It eventually took shape and I finished one corner and have another one well on the way. Once the corners are done, it should get much easier as all of the runs are straight after that.


Here is a detail of the finished corner. The offset detail looks very nice and the beadboard looks fantastic. Still crossing my fingers that the weather cooperates into November!


Saturday, October 29, 2016

Beadboard Finishing and Installation

After what seemed like a lifetime of staining and varnishing, we finished prepping the beadboard for the eaves and soffit. I was able to figure out a way to make the job go quickly but it wasn't long before the project took up every space we had: the basement, the back yard, the garage. It was a bit overwhelming and I think we will be cleaning up from this for weeks.  


In addition to the beadboard, the demolition process found that much of the original crown molding was beyond repair as well. Edges were worn, sections were rotted, and the previous roofer had nailed the roofing substrate through it, damaging it to the point where it could not be salvaged. This was depressing. I had hoped to be able to save this component so that it was original. Instead, I had to buy new. I was able to find a molding that perfectly matched it in every way except the thickness. The older crown was much heftier than what is available today.


Beadboard installation on the upper gables was done by carpenters. They scaffolded the house in order to do this work. It was best to go this way. My carpentry skills are good enough for such a job but it probably would have taken me a month or more to figure it out. They were done in less than a week!


I am really happy with how the new beadboard and crown molding look. It is exactly what I envisioned and it will look even better when it is painted. There is a final piece of molding missing. It is for the corner formed by the freizeboard and the beadboard. It is being made by the millworker right now and should be here next week. I hope I don't have too much trouble installing it.


The eave return detail is a little awkward and not exactly how it should be. I am debating whether or not I should re-do these areas. That's what I get for leaving the job without providing a drawing of what I wanted. I will probably tackle this when I get to the back of the house.